
A leaking roof can cause a lot of trouble. Dripping water, stains on your ceiling, and damp walls are clear signs you need to take action. Knowing how to repair roof leak can save you money and prevent bigger damage. In this guide, you will learn the common reasons roofs leak, step-by-step roof leak repair methods, and simple tips to prevent leaks from recurring.
Common Causes of Roof Leaks
Understanding why your roof is leaking helps you fix it properly. Here are the most common reasons:
- Damaged Shingles: Shingles protect your roof from rain and snow. When they crack, curl, or fall off, water can get in. Check for missing or broken shingles. Replacing them is often the first step in roof leak repair.
- Aging Roof: Roofs don’t last forever. Asphalt shingles usually last 20-25 years. Older roofs may have weak spots where water can seep through. If your roof is old, you might need a full roof repair or even replacement.
- Clogged Gutters: Gutters direct water away from your roof. When they are full of leaves or debris, water can back up. This causes leaks at the roof edge or around your home’s foundation.
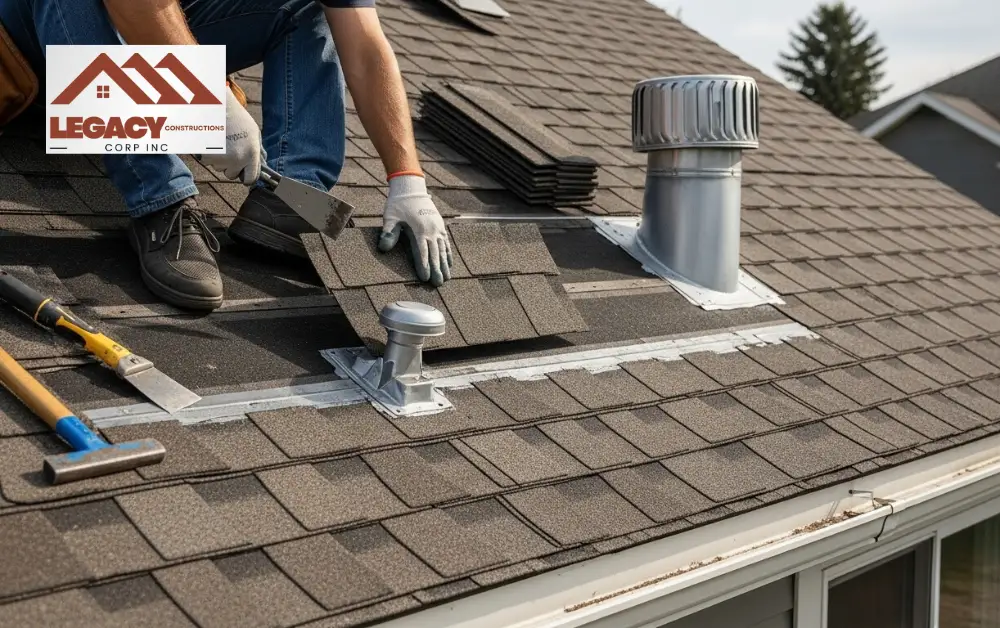
- Flashing Problems: Flashing is the metal strip that seals joints around chimneys, vents, and skylights. Broken or loose flashing is a common spot for leaks. Fixing flashing is an important step in repairing a leaking roof.
- Roof Vent Issues: Vents let air escape from your attic. Damaged or missing vent covers allow water in. Inspect vents and replace damaged parts to fix the leak.
- Ice Dams: In cold climates, ice can form at the roof edge. Melting ice backs up under shingles, causing leaks. Prevent ice dams with proper insulation and ventilation, and repair leaks quickly.
- Roof Punctures: Branches, hail, and walking on the roof can cause holes. Even small punctures lead to water entry.
How to Repair a Roof Leak: A Simple Step-by-Step Guide
Learn how to find and fix roof leaks step by step, from damaged shingles to small holes, and prevent future problems.
Step 1: Identify the Leak
The first step in repairing a leaking roof is locating the source of the water. Begin inside your attic and carefully look for water stains, damp insulation, or mold. Pay attention to dark spots on the ceiling or rafters. These signs show where water is entering.
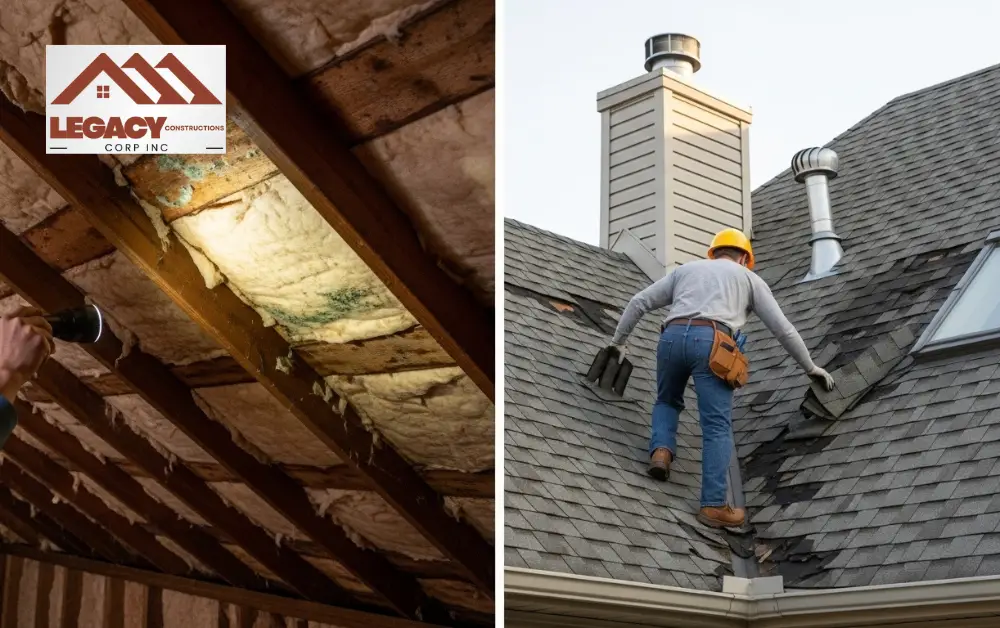
Next, go outside and inspect the roof above the area. Look for damaged, missing, or curled shingles. Check around roof vents, chimneys, and skylights, as these are common leak points. Keep in mind that water can travel along beams or under shingles before it drips inside, so the source may not be directly above the stain.
Step 2: Safety First
Before you start any roof leak repair, safety comes first. Always use a sturdy ladder and place it on a stable, level surface. Wear non-slip shoes and gloves to protect your hands and maintain grip. Avoid walking on wet, icy, or loose shingles, as slips can cause serious injuries.
If possible, have a helper nearby to hold the ladder or assist with tools. Use a flashlight or headlamp if visibility is low. Taking these precautions makes the repair process safer and ensures you can work effectively without accidents.
Step 3: Clear the Area
Before making any repairs, clear the damaged spot on your roof. Remove leaves, sticks, dirt, and any loose or broken shingles. A clean surface allows new shingles or sealant to stick properly.
Check around chimneys, vents, and gutters, as debris often collects there. Clearing the area not only makes your roof leak repair more effective but also helps prevent future leaks from hidden blockages.
Step 4: Patch or Replace Damaged Shingles
Start by carefully lifting the shingles around the damaged one. Use a pry bar to remove nails holding the broken shingle in place. Slide the old shingle out completely.
Next, slide a new shingle into position. Nail it down securely, making sure the nails are covered by the overlapping shingles above. Apply roofing cement along the edges of the new shingles to seal them and prevent water from entering. Replacing damaged shingles is a key part of roof leak repair. Doing it carefully ensures a long-lasting fix and keeps your roof watertight.
Step 5: Seal Cracks in Flashing or Roof Penetrations
Flashing around chimneys, vents, and skylights is a common spot for leaks. If you notice loose or damaged flashing, start by carefully removing the nails holding it in place. Lift the flashing and apply roofing cement underneath to create a watertight seal.
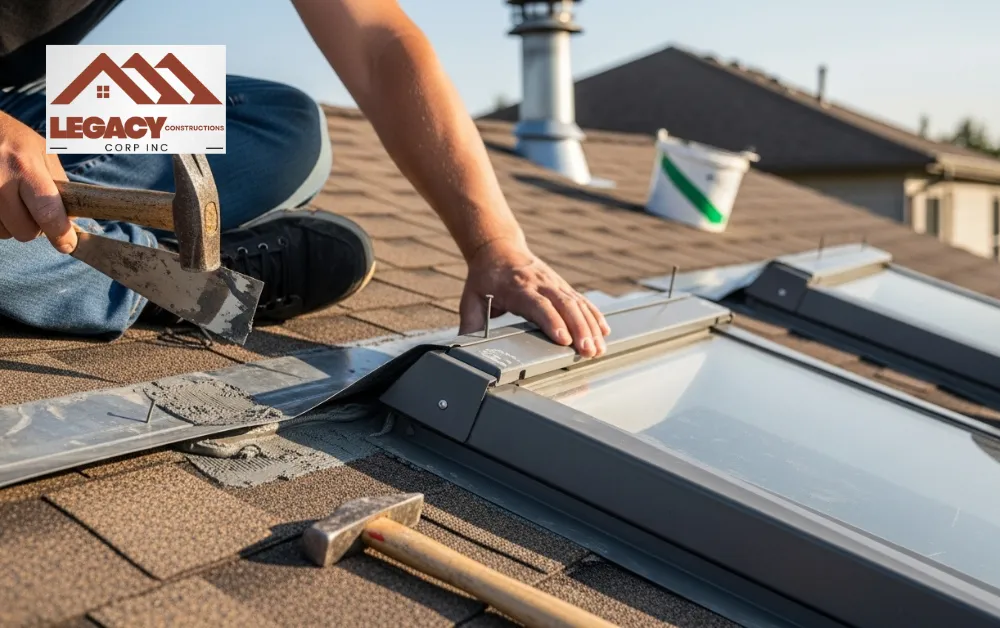
Press the flashing down firmly and secure it back with nails. Make sure all edges are sealed with cement to prevent water from seeping in. Proper flashing installation is a critical part of roofing repairs and helps keep your roof leak-free around these vulnerable areas.
Step 6: Seal Small Holes
Small punctures from nails, branches, or hail can cause big leaks if left untreated. Use a roofing sealant to cover these holes. Apply the sealant generously over the damaged area and smooth it out with a putty knife or gloved finger to create a tight seal.
Sealing these minor holes is an important part of repair leaking roof. Fixing them early prevents water damage and keeps your roof in good condition for years.
Step 7: Test Your Repair
After completing all repairs, check that your roof is properly sealed. You can use a garden hose to gently spray water on the repaired area while someone watches inside for leaks. Start from the lowest point and work upward to mimic rainfall.
If no water enters, your repair is successful. If you see dripping or wet spots, recheck the shingles, flashing, or sealant. Testing your repair ensures your roof leak repair holds and prevents future water damage.
Prevent Future Roof Leaks with These Expert Tips
Preventing leaks is much easier than fixing them later. Follow these simple steps to keep your roof in good condition:
- Inspect Your Roof Twice a Year: Check for missing or damaged shingles, cracks, or loose flashing. Catching problems early prevents major leaks.
- Clean Gutters Regularly: Clear leaves, sticks, and debris so water can flow freely. Blocked gutters can cause serious water damage.
- Trim Overhanging Branches: Branches can scrape or break shingles during storms. Keeping trees trimmed reduces roof damage.
- Maintain Attic Ventilation: Proper airflow lowers moisture buildup and helps prevent ice dams in winter.
- Seal Small Cracks: Use roofing sealant on minor cracks before they grow into bigger problems.
Following these tips helps your roof stay strong, protects your home, and reduces the need for expensive roof leak repair in the future.
When You Should Call a Professional for Roof Leaks
Not all roof leaks can be safely fixed on your own. It’s time to call a professional if any of these apply:
- Extensive Damage: The leak covers multiple areas or large sections of your roof.
- Safety Concerns: You’re not comfortable climbing or working on the roof.
- Structural Issues: Your roof has sagging, weakened beams, or other structural problems.
- Interior Water Damage: Water has reached walls, ceilings, or insulation, showing serious leaks.
Hiring a professional reduces the risk of accidents. If you need expert help in the Bronx, a trusted roofing contractor in Bronx can inspect your roof, fix hidden issues, and prevent future leaks.
Conclusion
Roof leaks can quickly turn into costly problems if left untreated. Knowing how to repair a roof leak, replace damaged shingles, seal cracks, and keep gutters and attic ventilation in check helps protect your home and extend your roof’s life. Regular maintenance is the key to preventing leaks and keeping your roof strong.
FAQs
How do I know if my roof is leaking?
Look for water stains on ceilings or walls, damp insulation, mold in the attic, missing or damaged shingles, and dripping water during rain. Early signs help you fix leaks before they get worse.
Can I repair a roof leak myself?
Yes, small leaks, such as damaged shingles or minor punctures, can be repaired DIY with proper safety measures and tools. Larger leaks, structural damage, or leaks near flashing may require a professional.
How long does it take to fix a roof leak?
Small repairs usually take a few hours, while larger leaks or roof replacements may take 1–3 days, depending on the extent of the damage and the roof size. Weather conditions can also affect repair time.