Looking to give your roof a long-lasting upgrade without spending too much? Installing EPDM roofing could be the perfect solution. This tough, weather-resistant rubber material protects your home for years and makes the installation process simple, even for beginners.
EPDM (Ethylene Propylene Diene Monomer) is flexible, durable, and perfect for flat or low-slope roofs. In this guide, we’ll show you step by step how to install EPDM roofing. Whether you’re tackling a DIY project or overseeing a professional EPDM roof installation, you’ll learn how to create a smooth, reliable, and long-lasting roof.
What is EPDM Roofing?
EPDM roofing is a durable synthetic rubber material that withstands extreme weather, UV exposure, and temperature fluctuations. It’s especially popular on flat and low-slope roofs because it provides excellent waterproofing and long-term protection. Installing EPDM rubber roofing is relatively simple and requires no heavy tools, making it a smart choice for both DIYers and professional EPDM roof installation projects.
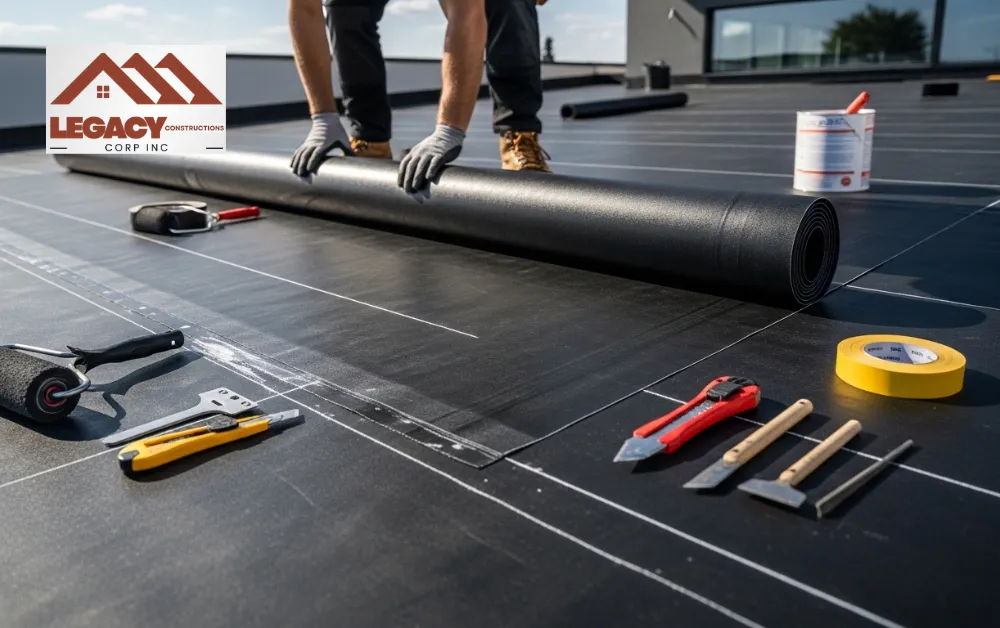
Tools and Materials You’ll Need
Before you begin installing EPDM roofing, it’s important to have all your tools and materials ready. This makes the process faster and easier, ensuring a smooth EPDM roof installation. Here’s what you’ll need:
- EPDM rubber membrane – the main material for your roof.
- Primer and adhesive – to help the membrane stick properly.
- Seam tape or contact adhesive – for sealing edges and joints.
- Roller – to smooth out the membrane and remove air pockets.
- Utility knife – for precise cutting of the membrane.
- Chalk line – to mark straight lines for placement.
- Measuring tape – for accurate dimensions.
- Gloves – to keep your hands safe and clean.
Having everything prepared before you start not only saves time but also makes your EPDM rubber roof installation much easier and more professional.
Step-by-Step Guide: How to Install EPDM Roofing Like a Pro
Step 1: Measure Your Roof
The first step is to measure your roof accurately. Follow these steps:
- Measure the length and width of your roof.
- Note any obstacles like vents, skylights, or chimneys.
- Add a few extra inches around the edges for overlaps.
Accurate measurements help you order the right amount of material and ensure a smooth EPDM roof installation without unnecessary cuts or waste.
Step 2: Prepare the Roof Surface
A clean and smooth surface is key before installing EPDM roofing. Follow these steps to get your roof ready:
- Remove old roofing material, dust, and debris.
- Fill any cracks or holes with a roof patching compound.
- Sweep the surface thoroughly to remove small particles.
A flat, clean roof helps the EPDM rubber roof installation adhere properly and reduces the risk of leaks. Taking the time to prepare the surface ensures a longer-lasting and professional finish.
Step 3: Apply Primer
Primer helps the EPDM membrane stick properly to your roof. Follow these simple steps:
- Use a roller or brush to spread the primer evenly across the roof.
- Pay extra attention to edges and areas where the membrane will overlap.
- Let it dry completely, usually for 15–30 minutes.
Doing this correctly, your membrane adheres well and creates a strong, long-lasting surface for the rubber roof.
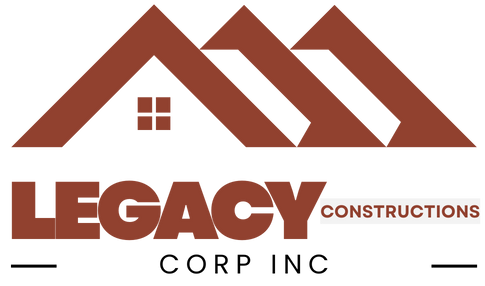
Step 4: Lay the EPDM Membrane
Now comes the fun part – placing the rubber sheet on your roof!
- Carefully unroll the EPDM membrane over the prepared surface.
- Make the edges overlap by a few inches.
- Smooth out any wrinkles or air bubbles as you go.
A flat, even surface helps the rubber roof last longer and perform better over time.
Step 5: Secure the Edges
The edges of your roof are the most vulnerable, so taking care of them is important to prevent leaks.
- Apply seam tape or adhesive along the edges to hold the membrane in place.
- Press the edges firmly with a roller to make them stick properly.
- Trim any extra membrane using a utility knife.
Paying attention to corners and slopes helps your EPDM rubber roof stay in place and perform well over time.
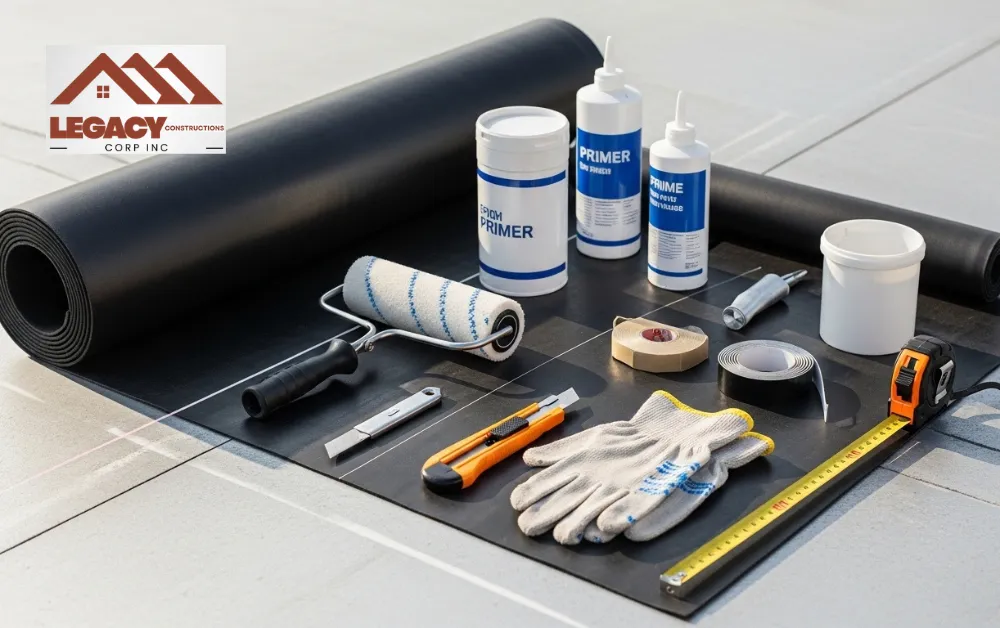
Step 6: Apply Adhesive
Applying adhesive is a key step for a strong EPDM roof installation.
- Spread the adhesive evenly on both the roof surface and the back of the membrane.
- Wait until it becomes tacky, following the manufacturer’s instructions.
- Press the membrane onto the roof and use a roller to remove any air pockets.
Using the right adhesive helps the membrane stick properly and keeps your EPDM roofing secure for many years.
Step 7: Seal the Seams
Seams are where two EPDM sheets meet, and sealing them well stops water from getting in.
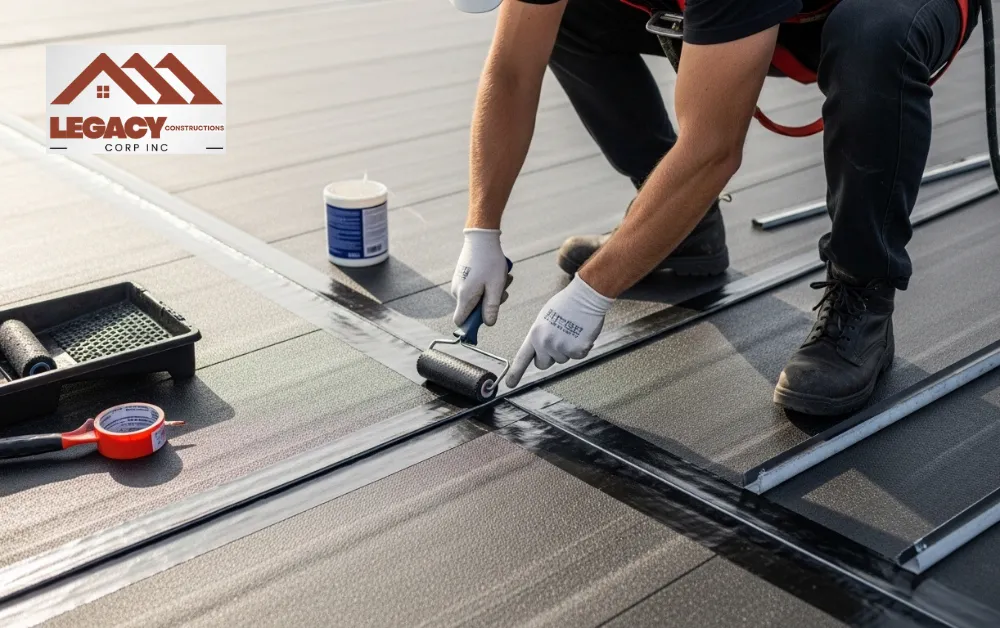
- Apply seam tape or liquid seam sealer along each joint.
- Press firmly with a roller to create a tight seal.
- Check carefully for any gaps or bubbles.
Proper seam sealing is an important part of a smooth EPDM roof installation and helps your roof stay waterproof for years.
Step 8: Check for Wrinkles and Air Pockets
Once the membrane is in place, inspect the entire roof surface for any issues.
- Look for wrinkles, folds, or trapped air under the membrane.
- Smooth them out using a roller or by gently lifting and repositioning the sheet.
- Take your time—small mistakes now can cause problems later.
Fixing these wrinkles and air pockets helps your EPDM roofing process stay smooth and keeps your EPDM rubber roof installation flat, professional, and fully waterproof.
Step 9: Install Flashings and Vents
Vents, chimneys, and skylights require extra care during EPDM roof installation.
- Cut the EPDM membrane carefully around any openings.
- Apply adhesive and sealant around vent pipes, chimneys, and skylights.
- Install metal or rubber flashings to protect edges and prevent leaks.
If any part of this step feels tricky, it’s perfectly fine to get help from a professional roofing contractor. Properly maintaining flashings and vents helps your EPDM roofing stay watertight and perform well for years.
Step 10: Inspect and Maintain Your EPDM Roof
After your roof is complete, take a careful look at the entire surface.
- Check edges, seams, and flashings for any loose spots.
- Make minor adjustments if needed to keep everything in place.
- Clean the roof from time to time to remove leaves, dirt, and debris.
Regular maintenance helps your EPDM roofing installation stay strong, watertight, and long-lasting.
Top Tips for a Smooth and Easy EPDM Roof Installation
Here are some practical tips to make installing EPDM rubber roofing easier and more efficient:
- Work on a dry day, since moisture can affect how the membrane sticks.
- Take your time—rushing can lead to mistakes and leaks.
- Wear gloves to protect your hands from sticky adhesive.
- Keep an extra membrane on hand for tricky areas.
- Follow the manufacturer’s instructions carefully for best results.
These small steps can make your EPDM roofing installation smoother, faster, and long-lasting.
EPDM Roof Installation Errors to Avoid
- Skipping primer – weak adhesion leads to leaks.
- Wrinkling the membrane – causes water pooling.
- Ignoring seams – leaks usually start there.
- Cutting corners – proper tools make a big difference.
Avoiding these mistakes ensures a strong and lasting EPDM roof installation.
Conclusion
Installing EPDM roofing can feel overwhelming at first, but following the step-by-step process makes it manageable even for beginners. Preparing the surface, applying primer, laying the membrane, and sealing seams all work together to create a durable, waterproof roof that can last for years.
Take your time, follow the tips to avoid common mistakes, and check that every section of the roof is secure. For tricky spots or larger projects, you can reach out to a trusted roofing company that offers reliable roofing services. With careful attention and the right support, your EPDM roof installation will be smooth and long-lasting, providing consistent protection for your home.
FAQs
How long does an EPDM roof last?
A properly installed EPDM roof can last 20 to 30 years, sometimes even longer with routine maintenance. Its resistance to UV rays, extreme temperatures, and moisture helps it stay durable for decades.
Do I need special maintenance for EPDM roofs?
Maintenance is simple. Regularly remove debris, check edges, seams, and flashings for damage, and address minor issues quickly. Proper maintenance can significantly extend your EPDM roof’s lifespan.
Can EPDM roofs be installed on sloped roofs?
EPDM is ideal for flat or low-slope roofs. While it can technically be used on slightly sloped roofs, steep slopes are not recommended, as water runoff and membrane adhesion can become challenging.
How do I know if my roof needs EPDM replacement?
Signs include large cracks, persistent leaks, membrane shrinkage, or damage from weather. If your roof is over 20 years old or shows multiple problem areas, replacing it with EPDM is often a cost-effective solution.
Can EPDM roofing be installed over an existing roof?
Yes, EPDM can sometimes be installed over certain existing flat roofs, provided the surface is clean, smooth, and dry. Always check manufacturer guidelines and local building codes before installation.